Starting any design project—whether it’s your first garden, a room makeover, or organizing your living space—can feel like standing at the base of an insurmountable mountain. The good news is that every successful design begins with a single, manageable step, and with the right approach, you can transform that overwhelming vision into an achievable reality.
This comprehensive guide provides practical strategies to help you break through analysis paralysis and begin creating the spaces you’ve always dreamed of. By understanding the fundamental principles of design planning and implementing proven methods for managing complexity, you’ll discover that even the most ambitious projects become manageable when approached systematically.
Understanding Design Overwhelm
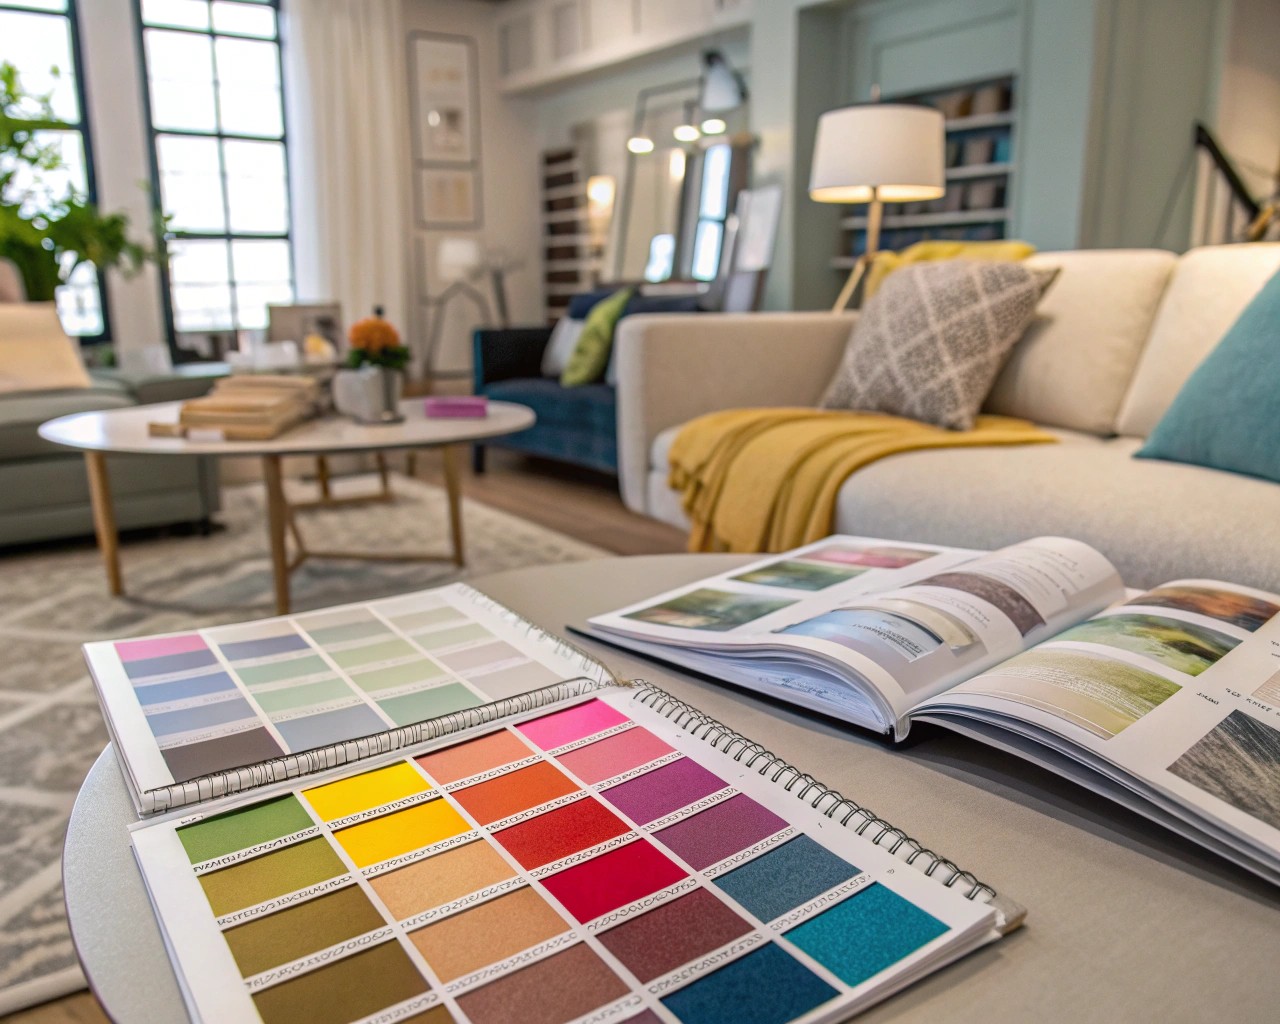
Design overwhelm typically stems from three core challenges: the abundance of choices available, the fear of making irreversible mistakes, and the tendency to envision the entire project completion before taking the first step. Research in cognitive psychology demonstrates that when faced with too many options, people often choose to delay decisions entirely rather than risk making the wrong choice.
The phenomenon of choice paralysis becomes particularly acute in design contexts because decisions feel permanent and costly. Whether you’re selecting paint colors, planning a garden layout, or arranging furniture, the weight of potential regret can be paralyzing. Understanding that this response is both normal and manageable represents the first step toward productive action.
The Psychology of Starting Small
Professional designers consistently advocate for beginning with small, contained projects because success breeds confidence and provides valuable learning experiences. When you complete a small design challenge successfully, you develop both practical skills and emotional resilience for larger undertakings. This approach mirrors the scientific principle of iterative development, where complex systems are built through successive refinement of simpler components.
Consider how garden designers typically approach overwhelming outdoor spaces. Rather than attempting to transform an entire yard simultaneously, experienced practitioners identify a single focal area—perhaps a 10×10 foot section—and develop that space completely before expanding. This methodology provides immediate satisfaction while building expertise for future phases.
The Foundation: Starting Small and Simple
The most effective antidote to design overwhelm involves deliberately constraining your initial scope. Professional designers understand that limitations actually enhance creativity rather than restrict it, providing a focused framework within which to explore solutions.
Defining Your Minimum Viable Design
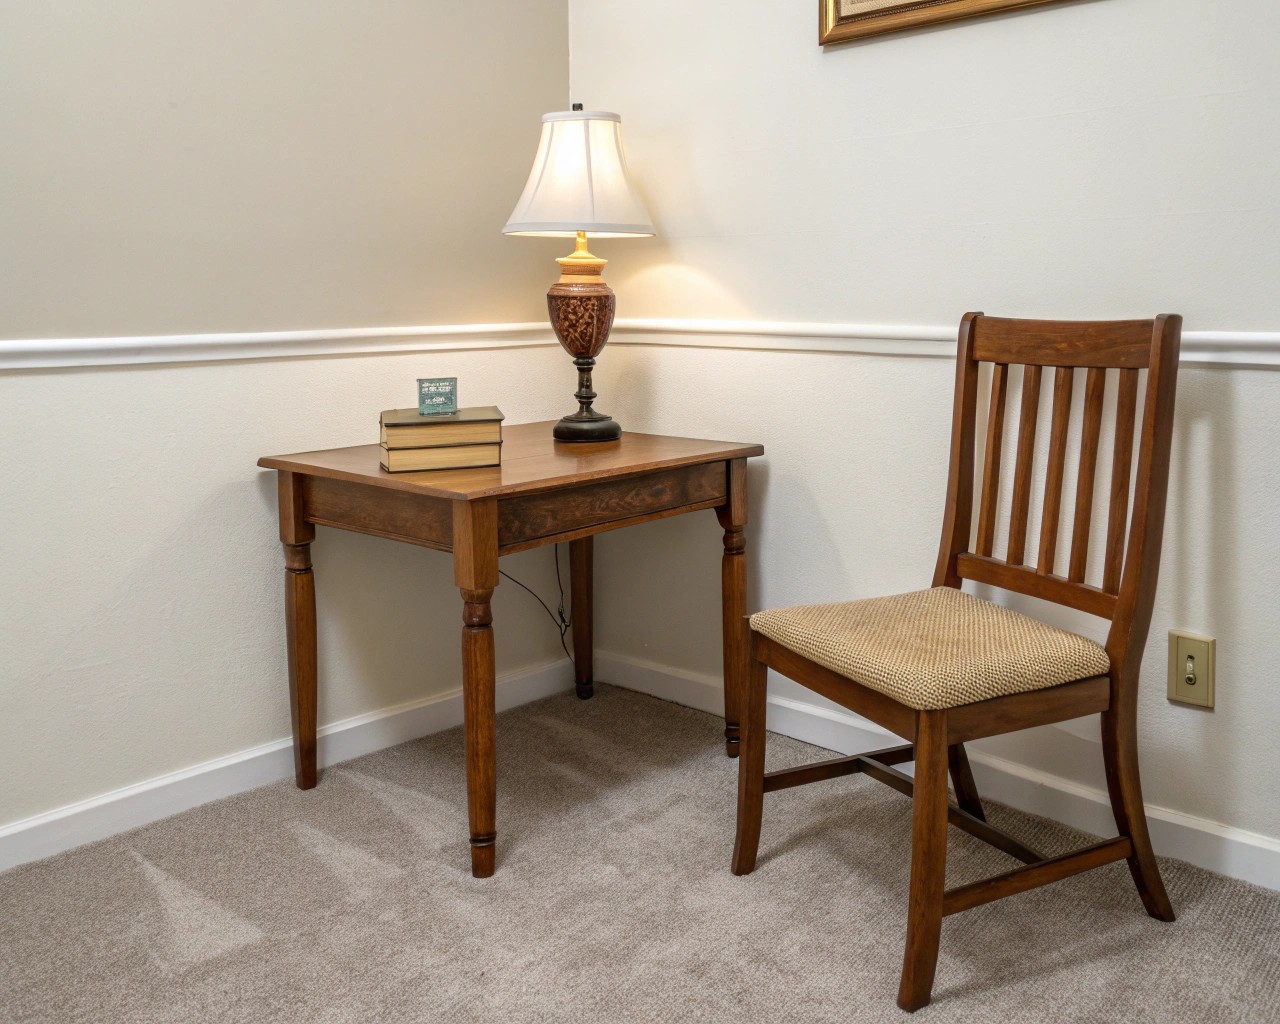
Begin by identifying the smallest possible version of your project that would still provide meaningful impact. In garden design, this might mean focusing on a single raised bed rather than planning an entire landscape. For interior projects, consider redesigning one corner of a room instead of the entire space. This approach allows you to:
- Test design principles on a manageable scale
- Learn from mistakes without significant consequences
- Build confidence through early wins
- Develop a personal design vocabulary
The Three-Hour Rule

I’ve observed that most people can sustain focused design work for approximately three hours before mental fatigue compromises decision-making quality. Use this natural attention span to your advantage by scheduling discrete design sessions. In each session, aim to complete one specific task, such as measuring a space, researching three material options, or creating a basic layout sketch.
Sample Three-Hour Design Sessions:
| Session Type | Activities | Expected Outcomes |
|---|---|---|
| Discovery | Measure space, assess conditions, identify constraints | Complete site analysis |
| Research | Explore 3-5 design examples, collect inspiration images | Defined aesthetic direction |
| Planning | Create basic layout, list required materials | Implementation roadmap |
| Implementation | Complete one discrete task (plant one bed, paint one wall) | Tangible progress |
Creating Your Design Framework
Successful design requires a systematic approach that breaks complex decisions into manageable components. Professional designers rely on established frameworks to navigate the overwhelming array of choices inherent in any project.
The Grid-Based Approach
Whether designing gardens, room layouts, or organizational systems, grid-based planning provides essential structure. This principle, borrowed from graphic design and architecture, involves dividing your space into regular units that guide placement decisions. In garden design, the square-foot method exemplifies this approach by dividing growing areas into 12-inch squares, each dedicated to specific plants based on their spatial requirements.
For interior design projects, establish a similar grid based on your room’s dominant architectural features—windows, doors, built-in elements. This grid becomes the foundation for furniture placement, ensuring visual harmony and functional flow.
The Rule of Proportional Progression
When planning any design project, establish a proportional relationship between elements to create visual coherence. The most effective ratio follows the principle that each element should be approximately one-third larger or smaller than adjacent elements. This mathematical relationship, derived from classical architecture, provides an intuitive framework for sizing decisions without requiring extensive design training.
Practical Applications:
- Garden beds: If your first planting area measures 4×4 feet, plan the next section as either 3×3 feet or 6×6 feet
- Furniture groupings: Balance a large sofa with medium-sized chairs and small accent tables
- Storage solutions: Use containers in three distinct sizes rather than identical units
Establishing Decision Criteria
Before exploring options, establish clear criteria for evaluating choices. This framework prevents endless research and provides objective standards for decision-making. Effective criteria typically include:
Functional Requirements:
- Budget constraints
- Maintenance capabilities
- Technical specifications
- Timeline limitations
Aesthetic Preferences:
- Color palette (limit to 3-4 colors)
- Style direction (contemporary, traditional, eclectic)
- Texture preferences (smooth, rough, mixed)
- Scale relationships (intimate, grand, balanced)
Practical Implementation Strategies
The transition from planning to action often represents the most challenging phase of any design project. Professional experience reveals that successful implementation depends more on systematic execution than perfect planning.
The Two-Week Sprint Method
Divide your project into two-week implementation cycles, each focused on completing one discrete element. This timeframe provides sufficient momentum to maintain engagement while remaining short enough to sustain motivation. Within each sprint, allocate time according to the 70-20-10 principle:
- 70% execution: Active implementation work
- 20% planning: Preparing for the next phase
- 10% reflection: Evaluating results and adjusting approach
Material Selection Strategy
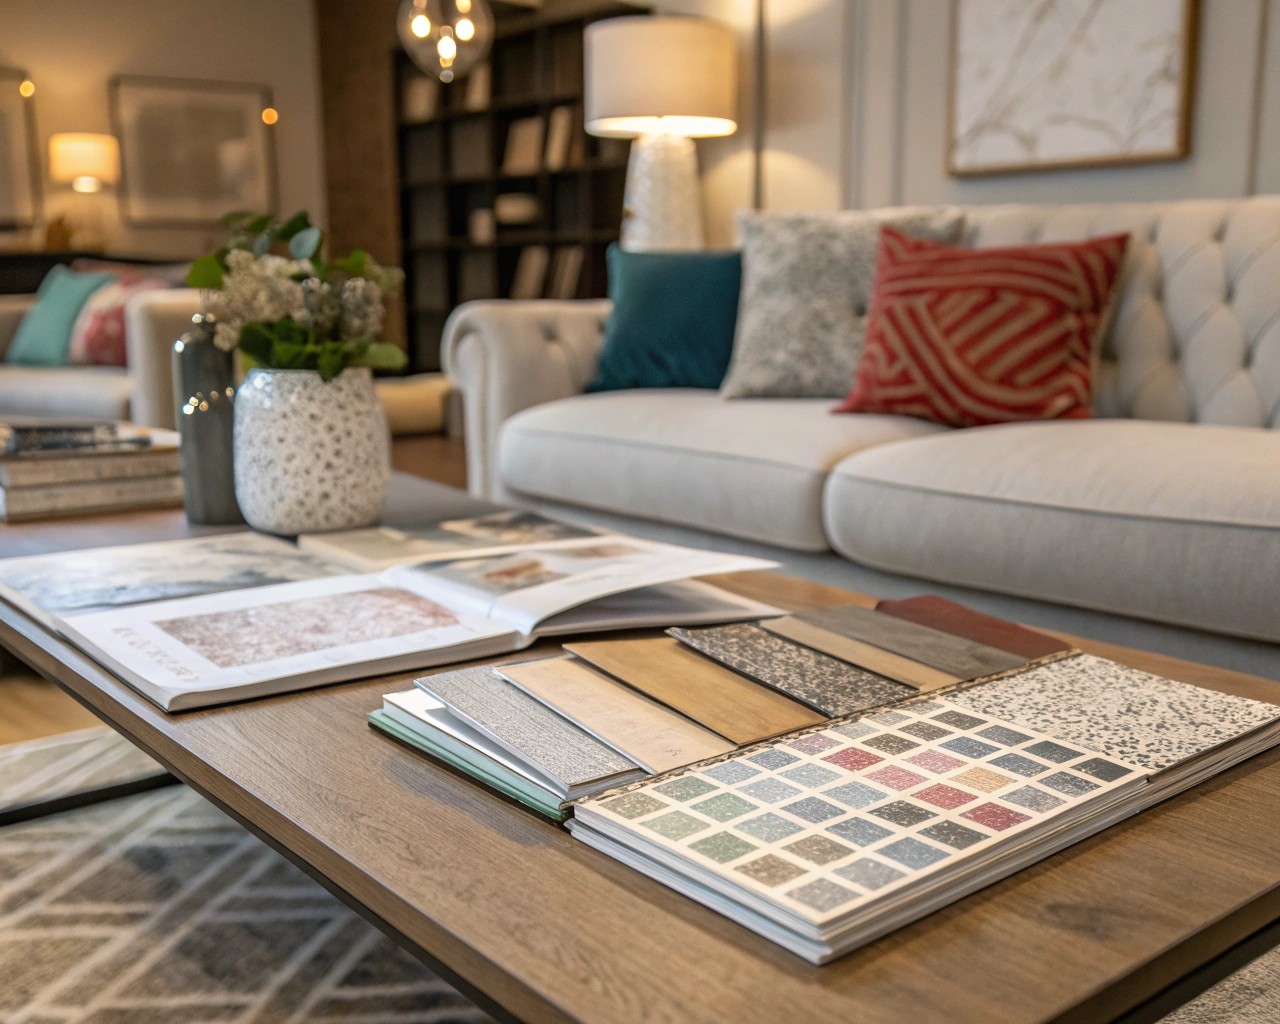
Overwhelm often peaks during material selection due to the vast array of available options. Professional designers manage this complexity by establishing a curated palette before exploring specific products. Begin by selecting one primary material that will dominate your design, then choose two complementary materials in smaller quantities.
Garden Design Example:
- Primary material: Natural stone (70% of hardscape)
- Secondary material: Timber edging (20% of hardscape)
- Accent material: Metal planters (10% of hardscape)
Interior Design Example:
- Primary material: Wood finishes (dominant furniture and flooring)
- Secondary material: Fabric textures (upholstery and window treatments)
- Accent material: Metal hardware (lighting and accessories)
The Test Patch Approach
Before committing to large-scale implementation, create small test areas to evaluate your design decisions in real conditions. Garden designers routinely plant small sections to observe growth patterns, seasonal changes, and maintenance requirements before expanding successful combinations. Interior designers often begin with accent walls or single rooms to test color schemes and material combinations.
This approach provides three critical benefits:
- Early identification of design issues
- Opportunity to refine techniques
- Confidence building through small successes
Managing the Design Process
Effective project management distinguishes successful design outcomes from abandoned projects. Professional designers employ specific strategies to maintain momentum and prevent overwhelm from resurging during implementation.
Progress Documentation
Maintaining visual records of your project’s evolution serves multiple purposes beyond simple documentation. Photography provides objective feedback on design decisions, helps identify successful elements for replication, and maintains motivation during challenging phases. Establish a regular documentation schedule:
Weekly Progress Photos:
- Overall project view from same vantage point
- Detail shots of completed elements
- Problem areas requiring attention
Monthly Reflection Sessions:
- Review progress against initial goals
- Identify lessons learned
- Adjust timeline and approach as needed
The Constraint Embrace Philosophy
When facing multiple viable options, impose additional constraints rather than expanding research. Professional designers understand that artificial limitations often lead to more creative and satisfying solutions than unlimited choice. If you’re struggling to choose between paint colors, for example, limit yourself to colors already present in your space through existing furnishings or architectural elements.
Energy Management
Design work demands both creative and physical energy, which fluctuate throughout the day and week. Schedule demanding decision-making during your peak energy periods, typically mid-morning for most people. Reserve routine implementation tasks—measuring, organizing, basic assembly—for lower-energy periods.
High-Energy Tasks:
- Color selection and aesthetic decisions
- Spatial planning and layout design
- Problem-solving and creative development
Low-Energy Tasks:
- Material ordering and logistics
- Routine maintenance and cleaning
- Documentation and progress tracking
Building Support Systems
Design projects benefit significantly from external input and accountability. Establish connections with others undertaking similar projects, whether through online communities, local groups, or informal partnerships with neighbors or friends. This support network provides practical advice, motivation during difficult phases, and celebration of achievements.
Consider these support mechanisms:
- Join local garden clubs or design groups
- Participate in online forums specific to your project type
- Arrange regular check-ins with family members or friends
- Document progress on social media for community encouragement
Seasonal and Timing Considerations
Understanding the natural rhythms that affect design work helps optimize both energy expenditure and results. Garden design projects align naturally with seasonal cycles, but interior and organizational projects also benefit from timing awareness.
Optimal Implementation Periods
Spring (March-May): Ideal for beginning new projects, ordering materials, and starting construction or planting activities. Natural energy levels typically peak during this period, making it perfect for ambitious undertakings.
Summer (June-August): Focus on maintenance and refinement of existing projects. High temperatures often make intensive implementation challenging, but this period is excellent for enjoying completed spaces and planning future phases.
Fall (September-November): Second optimal implementation period for many design projects. Cooler temperatures facilitate intensive work, and the psychological drive to complete projects before winter provides natural motivation.
Winter (December-February): Ideal for planning, research, and indoor projects. Use this period for detailed design development, material research, and skill building through reading and online learning.
Micro-Season Planning
Within each project phase, identify optimal timing for specific activities. Garden design involves obvious seasonal constraints, but interior projects also benefit from timing awareness. Paint projects work best during dry weather when windows can remain open for ventilation. Furniture delivery requires coordination with your schedule and available help.
Advanced Implementation Techniques
As your confidence grows through successful completion of small projects, you can adopt more sophisticated approaches that professional designers use for complex challenges.
The Modular Expansion Method
Design your initial project as the first module of a larger system, ensuring that future additions integrate seamlessly with completed work. This approach requires slightly more sophisticated planning initially but prevents the need for redesign as your project grows.
Garden Application: Plan your first raised bed as part of a grid system that can accommodate additional beds without disrupting existing plantings or pathways.
Interior Application: Choose furniture and storage systems that can be reconfigured and expanded as your needs change.
Integration Testing
Before finalizing any design element, evaluate how it integrates with existing conditions and planned future additions. This systematic approach prevents the common problem of beautiful individual elements that don’t function well together.
Integration Checklist:
- Visual harmony with existing elements
- Functional compatibility with planned uses
- Maintenance requirements within your capabilities
- Budget alignment with overall project goals

